From Vision to Vessel: How Custom Perfume Packaging Comes to Life
Industry Insights
From Vision to Vessel: How Custom Perfume Packaging Comes to Life
By LUMORA Editorial · June 20, 2026 · 9 min read
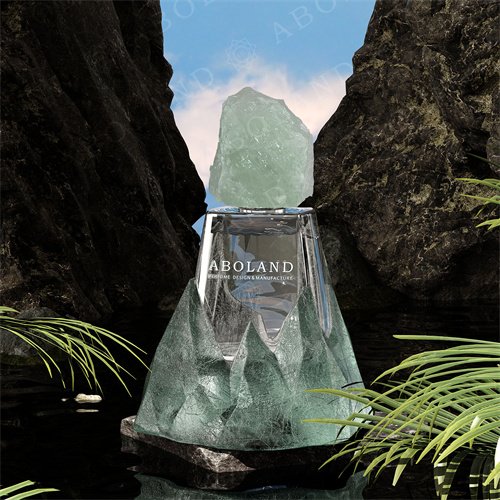
If you’re launching a fragrance brand — or relaunching one — the packaging is the product. Long before a customer smells what’s inside, they have to pick up what’s outside. This walkthrough is the practical version of how that packaging comes to life: every decision, every step, and every place where a project can go right or go sideways.
The Brief
Every project starts the same way: with a brief. The brief can be a one-page document or a thirty-page deck, but it has to answer the same four questions. What’s the product positioning — premium, niche, mass, apothecary? What’s the capacity and SKU count? What’s the launch window? And what’s the target landed cost per unit?
If the brief doesn’t answer those four questions, every decision downstream becomes guesswork. Most of our projects that run over timeline or over budget start with a brief that left one of those open.
The Moodboard
Once the brief is solid, we build a moodboard. This is where the visual language gets established — color palette, typography, materials, finish options, reference bottles from competitors and adjacent categories. The moodboard is the document we use to align with the brand team before any drawings happen.
Two things to know about moodboards. First, they are aspirational, not literal — the goal is to find the aesthetic center of gravity, not to copy any specific reference. Second, they should be made of references the brand team actually reacts to, not references we think they should react to.
The Sketch
After moodboard alignment, we move to sketch. We typically generate 6-12 initial bottle concepts in 2D profile view, drawn to scale, with rough material and finish callouts. These sketches are quick — 15-30 minutes each — and exist to get reactions, not to be finished work.
The brand team picks 2-3 favorites, we refine those into presentation drawings with cleaner linework and color rendering, and we present again. Usually one design emerges as the clear direction.
The 3D Model
Once the sketch direction is approved, we move to 3D modeling. This is where the design becomes engineering — wall thickness, base weight, draft angles for mold release, internal volume, neck finish, cap fit. The 3D model is also where we catch the things that look great in 2D but don’t work in 3D: bottles that tip over, caps that look top-heavy, base weights that don’t match the visual weight.
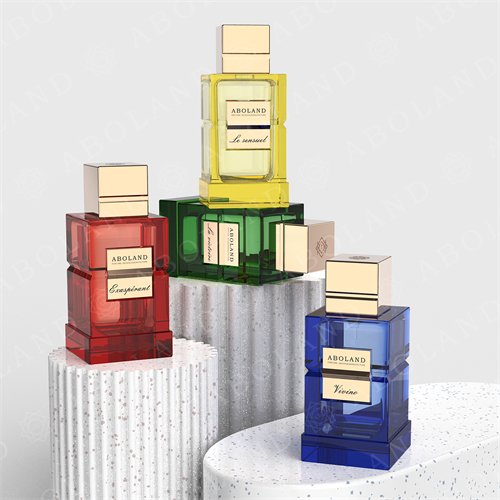
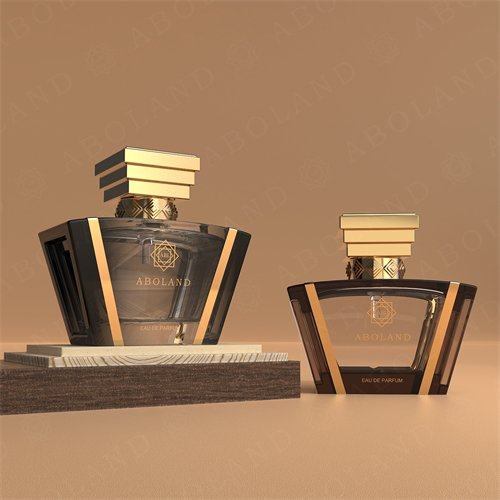
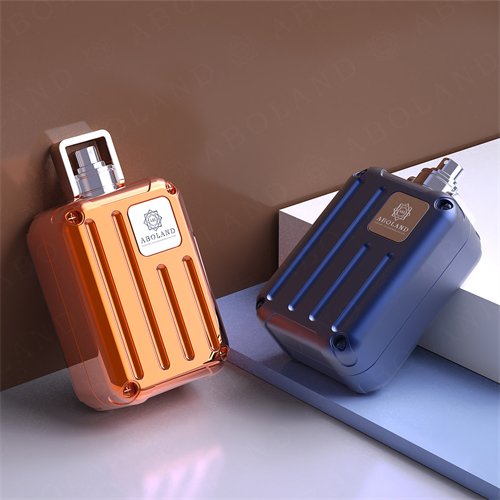
The 3D model is also the source for all the renderings the brand team uses in investor decks, retailer pitches, and social media. We typically deliver 8-12 hero renders per approved design: clean white background, contextual environments, cross-sections, and detail shots of cap and collar.
The Prototype
The 3D model is virtual. The prototype is the first physical sample. Lead time on a prototype depends on the design — a standard 100ml round bottle with an existing cap style can be prototyped in 10-15 days; a fully custom bottle with custom cap can take 30-45 days.
The first prototype is rarely the last. Most projects iterate 3-5 times before the design is ready for production tooling. Iteration rounds typically address glass thickness, finish quality, cap fit, and the small tactile details that aren’t visible in a render but matter enormously in the hand.
The Tooling
Once the prototype is approved, we open production tooling. For a glass bottle, that’s a set of cast iron molds with a 90-120 day production lead time. For a zamac cap, it’s a die-cast mold with a 60-90 day lead time. For a paper box, it’s a printing plate and a die-cut tool with a 20-30 day lead time.
Tooling is the longest lead-time item in any packaging project. Plan backwards from your launch date and lock tooling first.
The Production Run
With tooling complete, production begins. A typical 5,000-unit glass bottle run takes 25-35 days from start to ship-ready. Quality control happens at three points: pre-production sample approval, in-line inspection during production, and pre-shipment random inspection.
The pre-shipment inspection is the moment where you catch the issues that would otherwise arrive at your warehouse: chips, scratches, color drift, finish inconsistency. The cost of catching them at your warehouse is dramatically higher than catching them at the factory.
The Launch
Packaging arrives at your warehouse typically 4-6 weeks before your planned launch date. The buffer exists because you need time for labeling, kitting, retail-pack assembly, and freight forwarder handoff.
And then the bottle is on the shelf, and the whole process starts over for the next SKU.
What Makes Projects Succeed
Across hundreds of projects, the patterns are clear. Projects that ship on time and on budget share three things: a clear brief, a brand team that gives feedback quickly and decisively, and a willingness to compromise on small details to protect the big ones. Projects that run over share the opposite: vague briefs, slow feedback loops, and perfectionism on details that don’t move the customer.
If you’re about to start a packaging project, the highest-leverage thing you can do is write a tight brief. Everything downstream gets easier.
Working on a fragrance project?
A practical walkthrough of how a fragrance brand’s packaging concept becomes a shippable product — from first sketch to first production run, and every decision in between.
Talk to Our Team